
Sep 20
Goatdude
Tomb of Sargeras is the fourth raid of World of Warcraft: Legion. Inside are a total of nine bosses, each originating from the former Temple of Elune across four wings.
The boss order is as follows:
Goroth -> Demonic Inquisition -> Harjatan/Mistress Sassz’ine -> Sisters of the Moon/The Desolate Host -> Maiden of Vigilance -> Fallen Avatar -> Kil’Jaeden
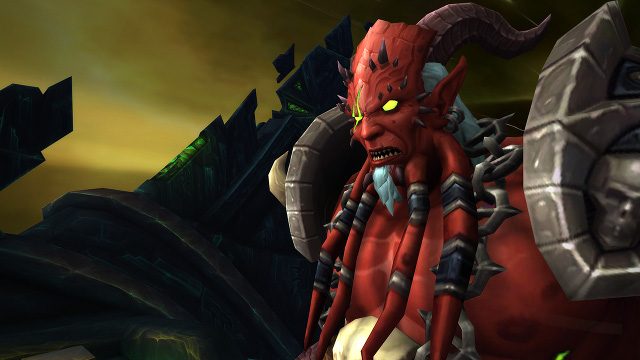
1. Goroth

BACKGROUND:
As punishment for past failures Goroth’s flesh is marred with searing wounds. With every movement this behemoth makes, his flesh crackles and hisses with unending torment, a scourge he is happy to inflict upon those who oppose him.
INTRODUCTION:
Goroth is a simple one-phase encounter that serves as a great introduction to the raid.
GENERAL STRATEGY:
- When targeted by Shattering Star, make sure it is positioned to hit one or more pillars.
- When targeted by Crashing Comet, move away from pillars.
- Get behind a spike when Infernal Burning occurs.
TANK STRATEGY:
- Position the boss on the side of the platform and sideways so that his flank is facing the rest of the group.
- Tank swap on Melted Armor.
DPS STRATEGY:
- Melee DPS should stack to the side of the boss, while ranged DPS should spread at around the middle of the area.
- Be prepared to stop DPS when Infernal Burning occurs. Thus, you should pop cooldowns shortly after this occurs to maximize its length.
2. Demonic Inquisition

BACKGROUND:
Anticipating the arrival of mortal forces invading the Tomb of Sargeras, Kil’jaeden has called on his best captors, Atrigan and Belac, to lock down the interlopers and prevent them from using the Pillars to advance deeper into the dungeon.
INTRODUCTION:
This encounter involves two bosses, each with their own mechanics. The encounter isn’t difficult, but requires solid timing and coordination to complete successfully.
GENERAL STRATEGY:
- Set up a three person interrupt rotation to be used on Belac during Pangs of Guilt. Using voice communication for this is preferable.
- When Torment levels get high, one tank that isn’t holding Atrigan, one healer, and a few DPS should Confess at the same time to drop their Torment stacks.
- Avoid Tormented Eruption when inside the cage.
TANK STRATEGY:
- Note that Belac is untankable.
- The tank who is responsible for holding Atrigan should move him slightly away from Belac, but close enough for DPS to attack both.
- Face Atrigan away from the raid due to his cleave attack.
- Tank swap on high Torment.
DPS STRATEGY:
- Stop attacking Belac when he is fel fired with Fel Squall, and Atrigan when he spins using Bone Saw.
- Pop cooldowns when torment is low, or shortly after Confessing.
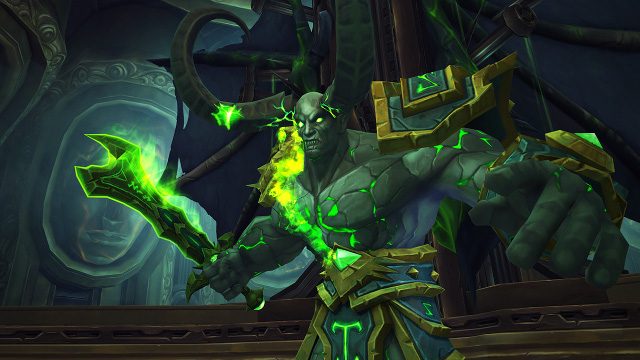
3A. Harjatan

BACKGROUND:
Harjatan was trained from birth to demolish his enemies. Through a conquest of savage brutality, he gathered throngs of cave dwelling murlocs who see him as a god. Now, the naga brute merely has to bark a command and hordes of devout followers set themselves to task.
INTRODUCTION:
Harjatan is a fast but intense encounter involving many adds and debuffs.
GENERAL STRATEGY:
- Stack on Unchecked Rage to spread damage across the raid.
- Interrupt Wavemender Murlocs when they cast Watery Splash.
- Avoid Drenching Waters upon Draw In cast.
- Move to the edge of the room during Frigid Blows.
TANK STRATEGY:
- Tank swap on high Jagged Abrasion.
- Turn the boss toward the raid when he has energy, but turn him away when he is icy.
- The off-tank should pick up Murloc adds in groups to be focus fired down.
DPS STRATEGY:
- Try to pull groups of enemies toward the boss to be AoE’d down.
- Razerjaw Gladiators need to be kited during Driven Assault.
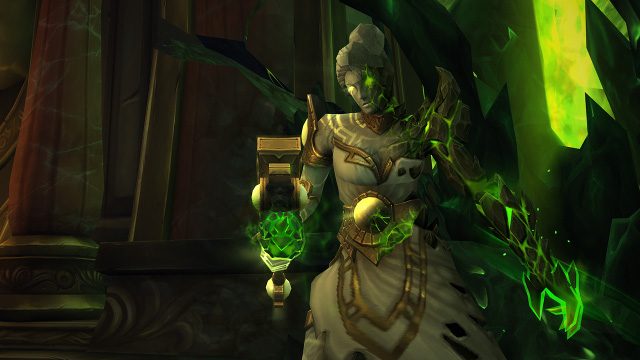
3B. Mistress Sassz’ine

BACKGROUND:
Mistress Sassz’ine has spent a lifetime binding the denizens of the ocean to her dark will. With this power, she summons nightmares from the briny depths to wash away any who dare challenge her.
INTRODUCTION:
Mistress Sassz’ine is a three phase encounter that involves a large number of adds and ground-based AoE.
GENERAL STRATEGY:
- A location should be marked for where Hydra Shot spears should be dropped.
- Between four and six players should share the damage for each Hydra Shot.
- Get behind Concealing Murk (dropped by dead Abyss Stalkers) when Slicing Tornados appear.
- During phase two, run against the Devouring Maw during Beckon Sarukel.
- During phase three, avoid Befouling Ink unless you’re running out of space.
- During phase three, use as many self-healing abilities as possible to make things easier for your healers; Consuming Hunger is very challenging to out-heal over time.
TANK STRATEGY:
- Taunt on Burden of Pain.
- The off-tank should pick-up Abyss Stalkers.
- Try to position Abyss Stalkers so that when they die they drop their Concealing Murk in an easy-to-reach location.
DPS STRATEGY:
- Prioritize mobility over damage.
5A. Sisters of the Moon
BACKGROUND:
The Sisters of the Moon served as wardens for the temple long before the avatar of Sargeras was buried beneath it. Even in death, the sisters maintained their vigil, but over the millennia something twisted their ability to distinguish friend from foe. Their madness slowly consumed them, and now any who enter their sacred chambers are put to death.
INTRODUCTION:
The Sisters of the Moon have a shared health pool. Though, only one has a physical form at any given time.
GENERAL STRATEGY:
- The encounter area has Light and Dark sides. By swapping from one side to the other, players are able to drop their stacks of Lunar Suffusion or Umbra Suffusion.
- During phase one, players need to gather to soak the damage from Light Ray.
- During phase three, players should prioritize avoiding the glaives.
TANK STRATEGY:
- Tank swap on Moon Glaive. The affected tank needs to go to the other side of the moon to clear Discorporate.
- The main target should be kept toward the middle to make it accessible to as many players as possible.
- Swap sides when stacks of Umbra Suffusion or Lunar Suffusion get too high.
- Stack with the other tank to spread damage on Moon Glaive.
- During phase two, pick up the Moontalon and prioritize it.
- During phase three, swap when Lunar Fire stacks get too high.
DPS STRATEGY:
- Focus the Moontalon during phase two.
5B. The Desolate Host
BACKGROUND:
Once, this was a sacred burial site for the night elves, until the Legion corrupted these grounds with the Engine of Souls. This foul machine draws upon the energy of the dead, twisting them into abominations.These tormented spirits have become monstrosities, looking to feed on any who descend into the tomb’s depths.
INTRODUCTION:
This two phase encounter involves two realms: Spirit Realm and Corporeal Realm. Many adds are present in each of these realms.
GENERAL STRATEGY:
- Never stand between the bsos and anyone affected by Tormented Cries.
- Soulbound players need to gather together at a predesignated location, preferably in the middle of the room.
- Dispel Bonecage Armor by going near Shattering Scream.
- Use any available magic mitigation to suppress Wailing Souls and Crush Mind damage.
- Players affected by residue should head to a designated area and ensure affected regions are as small as possible.
- During Wailing Souls everyone but a tank and healer should leave the Spirit Realm.
TANK STRATEGY:
- Pick up Reanimated Templars and Ghastly Bonewardens.
- Swap when Fallen Priestess Crush Mind becomes unmanageable.
DPS STRATEGY:
- Soul Residue adds always get priority.
- Don’t kill Fallen Priestess adds until Bonecage Armor has been removed from all Corporeal Realm adds.
7. Maiden of Vigilance
BACKGROUND:
Charged by Aegwynn to defend the Tomb of Sargeras, the Maiden of Vigilance has stood watch for hundreds of years. Yet, the guardian did not foresee what effect the avatar’s seeping fel energy would have on this titan construct. Slowly warped by this maleficence, the maiden now seeks to destroy any in her path.
INTRODUCTION:
Maiden of Vigilance cycles through two phases. While not a traditional gear check encounter, DPS output must be beyond a certain threshold to outperform her enrage timer.
GENERAL STRATEGY:
- Split the raid on two opposite sides depending on infusion type (Light Infusion and Fel Infusion).
- Players affected by Unstable Soul need to enter the hole in the middle of the room once the debuff is about to perish.
- Avoid Remanence Pools at all costs.
- Players must be ready to swap sides after Infusion is cast.
- During phase two, the raid should group up to soak the Essence Fragments.
TANK STRATEGY:
- The tank affected by Light Infusion must soak the damage from Hammer of Creation, while the Fel Infusion tank needs to soak Hammer of Obliteration. Cooldowns should be popped when these are cast.
DPS STRATEGY:
- Save cooldowns for Titanic Bulwark. How quickly your team can take down this shield can mean the difference btween success and failure.
- Pick up orbs matching your infusion during Wrath of the Creators to increase your damage output.
8. Fallen Avatar
BACKGROUND:
When Aegwynn defeated the Avatar of Sargeras, she was unable to destroy his avatar. In an effort to seal it away, the armor was entombed beneath the Temple of Elune, where it remained dormant for hundreds of years. Now, with the Legion tearing down the tomb’s barriers, Kil’jaeden is in a position to reanimate the armor and unleash its power on Azeroth.
INTRODUCTION:
Fallen Avatar is a battle of management, requiring the raid to perfectly time the completion of phase one before burning the boss during phase two.
GENERAL STRATEGY:
- Stay away from the damaging areas left by Unbound Chaos.
- Players targeted by Shadowy Blades should not move.
- Avoid Rupture Realities.
- During phase two, spread evenly across the platform.
TANK STRATEGY:
- Tank swap on two stacks of Desolate.
- Position the Maiden of Valor so she comes between the energy beam and Containment Pylons.
- During phase two, position the boss on the edge of the platform.
DPS STRATEGY:
- Avoid attacking the Maiden of Valor until she is at full energy.
- Focus fire the Fallen Avatar when he is up.
- Save cooldowns for the transition into phase two.
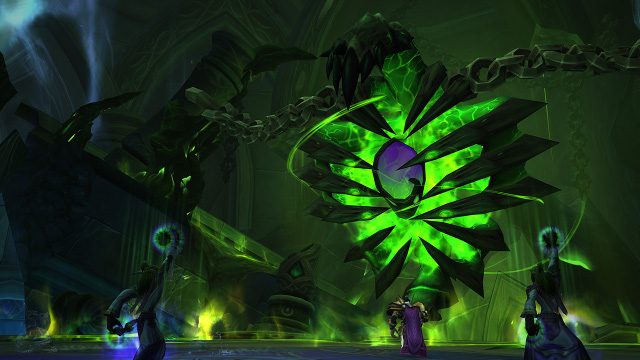
9. Kil’Jaeden
BACKGROUND:
Since striking the bargain that chased the Draenei into the stars, Kil’jaeden believed the Legion could not be stopped—yet, none of his deceptions have prevented you from reaching this critical moment. Infuriated that Sargeras’ promise of victory has never come to pass, the demon lord prepares to face you himself, for a final battle that will shape Azeroth’s destiny forever.
INTRODUCTION:
Kil’jaeden is the final boss of the raid. His encounter is lengthy, spread across three phases with downtime between each.
GENERAL STRATEGY:
- Stand near the Rupturing Singularity when it’s up.
- During intermission one, run away from teammates when targeted by Bursting Dreadflame.
- During intermission one, group up between the Focused Dreadflame target and the bos to spread damage.
- During intermission two, stand near Illidan to gain sight.
- During phase three, avoid Demonic Obelisk.
- During phase three, head to Rifts when Darkness of the Thousand Souls is cast.
- During phase three, orbs must be kited to the Rifts.
TANK STRATEGY:
- Use damage mitigation when Felclaws is on the boss.
- Swap taunts after Felclaws.
- The off-tank should stand under Armageddon Hail when Armageddon is cast.
DPS STRATEGY:
- Don’t bother damaging Kil’jaeden until after the first minute.
- During intermission two, quickly take out Shadowsouls.